A Practical Guide to Sculpting in Blender
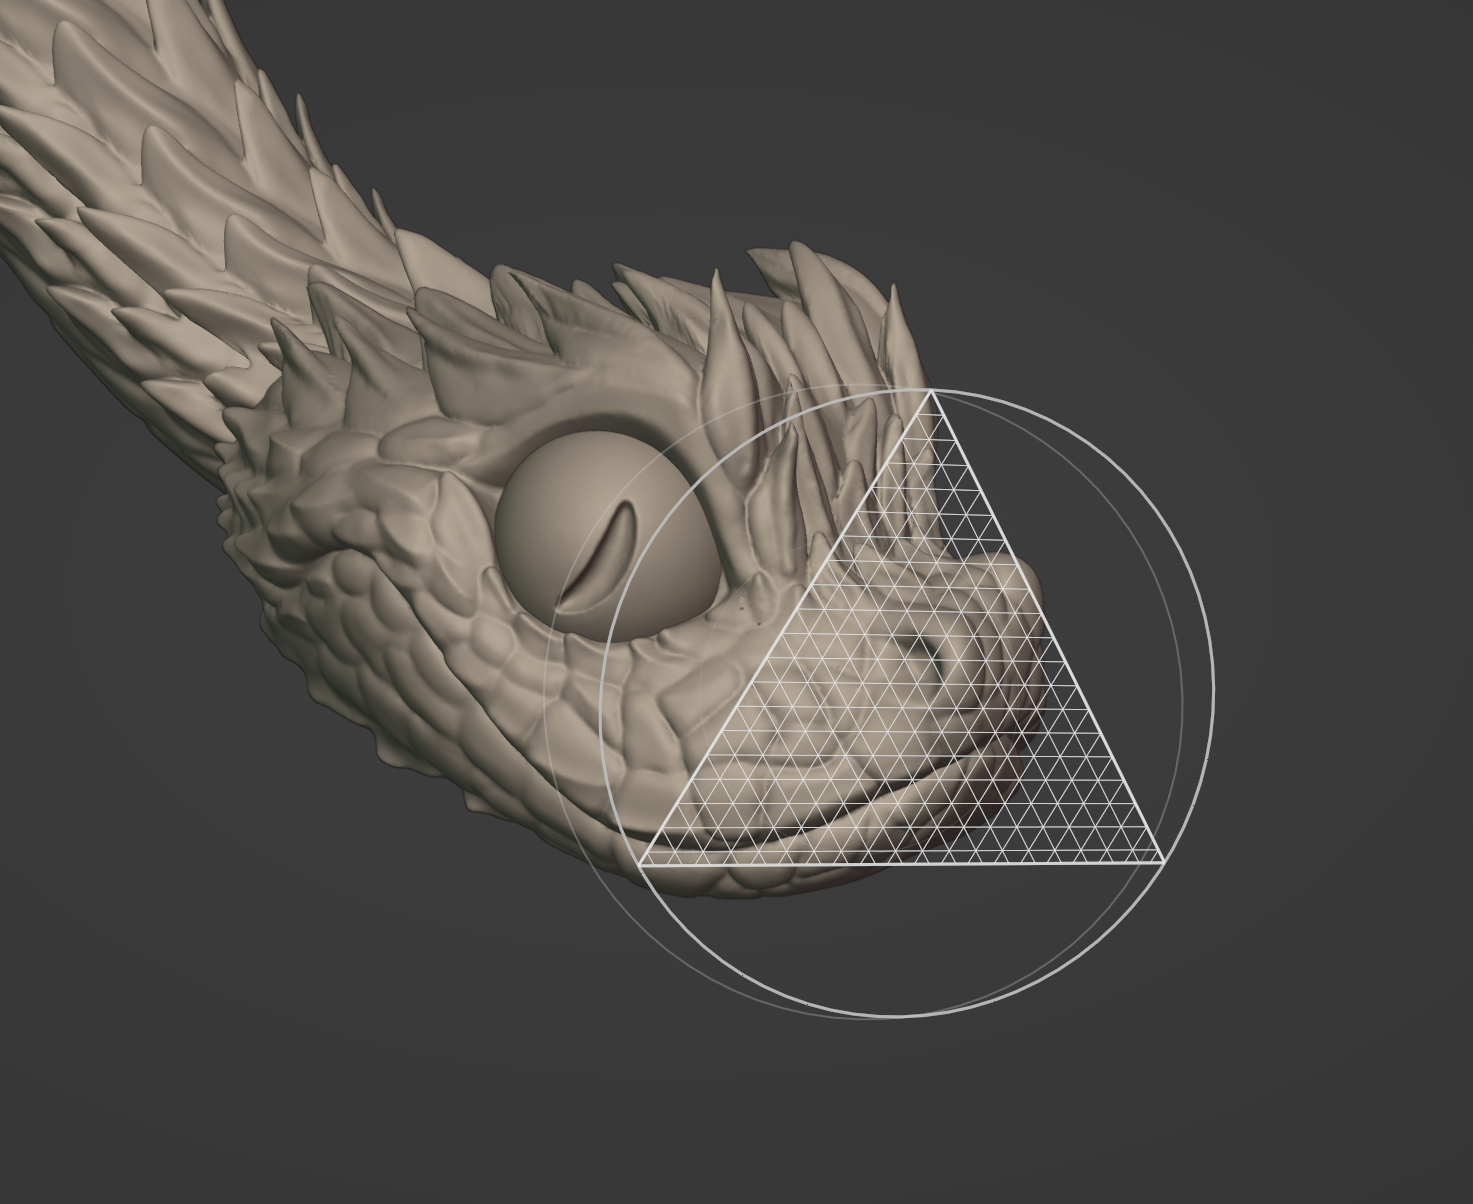
Blender's sculpting tools have quietly become some of the best in the industry — and they're free. I use them constantly for props, rocks, hero assets and anything organic that needs to feel hand-made before it becomes a clean game model. This is the guide I wish I'd had when I started: how sculpting in Blender actually works, the tools that matter, and how to take a sculpt all the way to a game-ready asset.
If you don't have Blender yet, grab it from blender.org/download — and keep the official Blender Manual: Sculpting open in a tab. It's genuinely good documentation.
What sculpting actually is
Sculpting treats your mesh like a lump of digital clay. Instead of pushing individual vertices around, you drag brushes across the surface and the underlying geometry deforms — building forms up, carving them in, smoothing them out. To make that feel like clay, you need a lot of polygons, which is where Blender's three topology systems come in (more on those below).
The single most important setup tip: use a pen tablet. Pressure sensitivity drives brush size and strength, and sculpting with a mouse is like painting with a brick. A basic Wacom or an XP-Pen is plenty to start.
The topology decision: Dyntopo vs. Multires vs. Voxel Remesh
This trips up every beginner, so let's be clear. Sculpting needs density, and there are three ways to get it:
- Dynamic Topology (Dyntopo) adds and removes detail as you draw, subdividing the mesh only where the brush touches. Great for fast, exploratory blockouts and when you don't know the final shape yet. Downside: messy, triangulated topology.
- Voxel Remesh rebuilds your whole mesh into an even grid of polygons at a resolution you choose (
Ctrl+Rin Sculpt Mode). This is my go-to for blocking organic forms — sculpt roughly, remesh to add uniform density, sculpt more, repeat. Clean, even, no stretching. - Multiresolution (Multires) modifier keeps a clean base mesh and stores your sculpted detail on subdivision levels, so you can drop to a low level to change big forms and jump up to add fine detail. This is the classic film/character pipeline and the one that plays nicest with baking later. See the Multiresolution modifier docs.
A practical rule: Voxel Remesh to find the form, Multires to detail it, Dyntopo when you're just playing.
The brushes that actually matter
Blender ships with a big brush list, but you'll live in about eight of them. Hold F to scale brush size and Shift+F for strength — do that thousands of times and it becomes muscle memory.
- Draw — the basic "add clay" brush. Your default.
- Clay Strips — the workhorse. Builds up volume in confident, flat-edged strokes. Most of my blocking is Clay Strips.
- Grab (
G) — grabs and moves a whole region. For big gestural changes to the silhouette. - Smooth (hold
Shiftwith any brush) — averages the surface. You'll use this more than any single brush; sculpting is a constant dance between adding form and smoothing it. - Crease — pinches a sharp valley. For seams, folds, and where two forms meet.
- Pinch — pulls surface together to tighten an edge.
- Inflate — pushes the surface out along its normals; good for puffing up soft forms.
- Flatten / Scrape — planes off high spots. Essential for hard-surface-ish and rock work.
- Snake Hook — pulls out tentacles, horns, branches from the surface.
The full reference lives in the manual under Sculpt Tools. Don't try to memorize all of them — learn the eight above cold first.
Masking, Face Sets and the Pose brush
These are what separate a beginner sculpt from a controlled one:
- Masking (
Mto paint a mask,Ctrl+Ito invert) protects areas from your brush so you can work one region without wrecking its neighbour. - Face Sets group the surface into logical chunks you can isolate, hide, or grow a mask from — invaluable for keeping a complex sculpt organized.
- Pose, Cloth and Boundary brushes deform larger areas naturally — the Pose brush rotates a limb from a virtual joint, the Cloth brush simulates fabric folds in real time. They feel like magic the first time.
A workflow that works
Whatever you're sculpting, the order is always big → medium → small:
- Blockout. Start from a simple base (a sphere, a cube, or a fast Dyntopo blob) and nail the silhouette and proportions with Grab and Clay Strips. Squint at it. If the silhouette doesn't read now, no amount of detail will save it.
- Establish forms. Voxel Remesh to add density, then define the primary and secondary masses — the big anatomical or structural shapes. Keep smoothing.
- Refine. Add Multires levels and work in the medium forms — muscle groups, rock planes, wood grain direction, wrinkles.
- Detail. Only now do you add fine surface detail: pores, cracks, scratches, fabric weave. This is where alpha brushes come in.
The mistake everyone makes is jumping to step 4 too early. Detail on top of weak forms just looks noisy.
Detailing with alphas and textures
Fine detail is faster to stamp than to sculpt by hand. Blender lets you plug a grayscale alpha (a height map) into a brush's texture slot and dab or drag it across the surface — instant scales, skin pores, stone pitting, cloth weave. You can paint your own, or grab high-quality sets from places like Texturing.xyz for skin and Poly Haven for free CC0 textures you can repurpose as alphas.
From sculpt to game asset (the part people skip)
Here's where my day job comes in. A 4-million-triangle sculpt can't go into a game — you have to transfer its detail onto a lightweight model. The pipeline:
- Retopology — build a clean, low-polygon mesh that follows your sculpt's forms. Blender has native retopo tools (snapping to surface with the Poly Build tool and Shrinkwrap), and the popular add-on RetopoFlow speeds it up a lot.
- UV unwrap the low-poly so it has a flat texture layout.
- Bake the high-poly detail down onto the low-poly as a normal map (and ambient occlusion, curvature, etc.). Blender bakes via Cycles — the baking documentation covers the setup, and many artists bake in Marmoset Toolbag or Substance 3D Painter for speed and control.
- Texture the low-poly using those baked maps as a base.
The result: the game engine renders a few thousand triangles that look like they have millions, because the lighting detail is faked in the normal map. That trick is the entire reason sculpting matters for games.
Common beginner mistakes
- Not enough (or way too much) geometry. If the brush feels chunky, you need more density; if Blender is crawling, you have too much — remesh down or work on Multires.
- Over-smoothing everything into mush. Smooth deliberately, not reflexively.
- Detailing before the forms are right. Say it with me: silhouette first.
- Never rotating the view. Sculpt from every angle constantly — forms that look great from the front are often broken in profile.
- Sculpting symmetrically forever. Symmetry (
Xaxis) is great for blocking, but turn it off and add asymmetry at the end so it doesn't look CG-perfect.
Where to actually learn it
Reading only gets you so far — sculpting is a motor skill. These are the resources I recommend, all reputable:
- Blender Manual — Sculpting — the official reference, surprisingly readable.
- Blender Studio — the Blender org's own training and open-movie files.
- Grant Abbitt — the best free beginner-friendly Blender sculpting teacher on YouTube.
- YanSculpts — focused specifically on sculpting, from a working character artist.
- FlippedNormals — pro-level sculpting and pipeline courses (also great free YouTube content).
- CG Cookie and ArtStation Learning — structured, project-based courses.
- Blender Guru — not sculpting-specific, but the best starting point for Blender fundamentals overall.
Pick one asset — a rock, a skull, a little creature — and sculpt it start to finish, retopo and bake included. You'll learn more from finishing one thing than from watching ten tutorials.
Questions, or want me to break down a specific piece? Find me on ArtStation or Instagram.